
How to Storyboard an AI Video: Template and 3-Shot Example
 ReelBoop
Turn a short video idea into a timed storyboard, check the pacing with stills, and make the clips one at a time. Includes a copyable shot card.
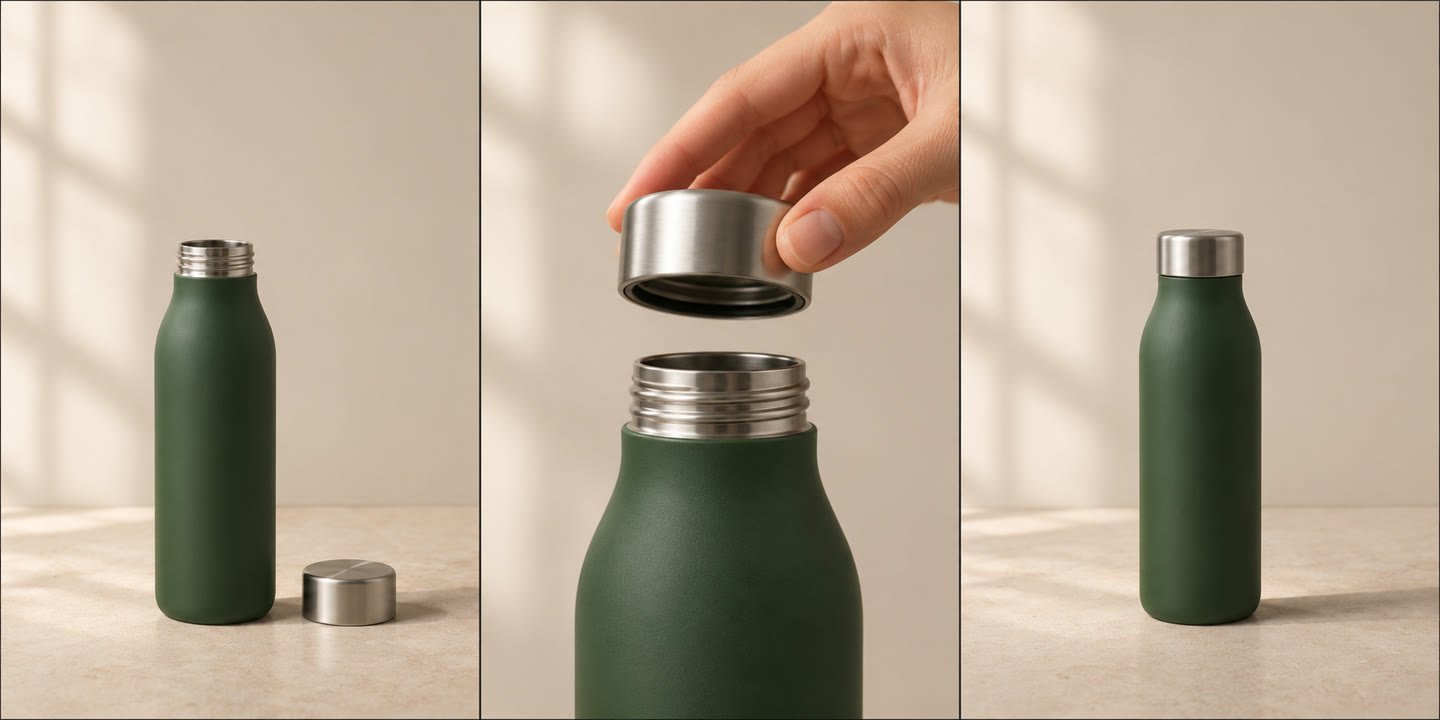
To storyboard a short AI video, break the idea into shots, choose a starting image for each shot, and decide what the viewer needs to see before the cut. Try the stills in order at their intended lengths before spending time or credits on animation.
A script says what happens. A storyboard shows what the viewer sees. A shot list records the instructions you need to make each clip. For a short video, keep the sketch or reference still and its shot notes together on one card. Runway's storyboard guide
If the goal, audience, or format is still open, write a short video brief before planning the shots.
Plan a 10-second vertical video
Imagine you're showing how a reusable bottle closes. Prepare three 9:16 reference images of the same matte green bottle and brushed silver cap on a pale stone counter. Keep the window light on the left. The close-up of the cap is the shot that explains how the bottle closes, so give it the most time.
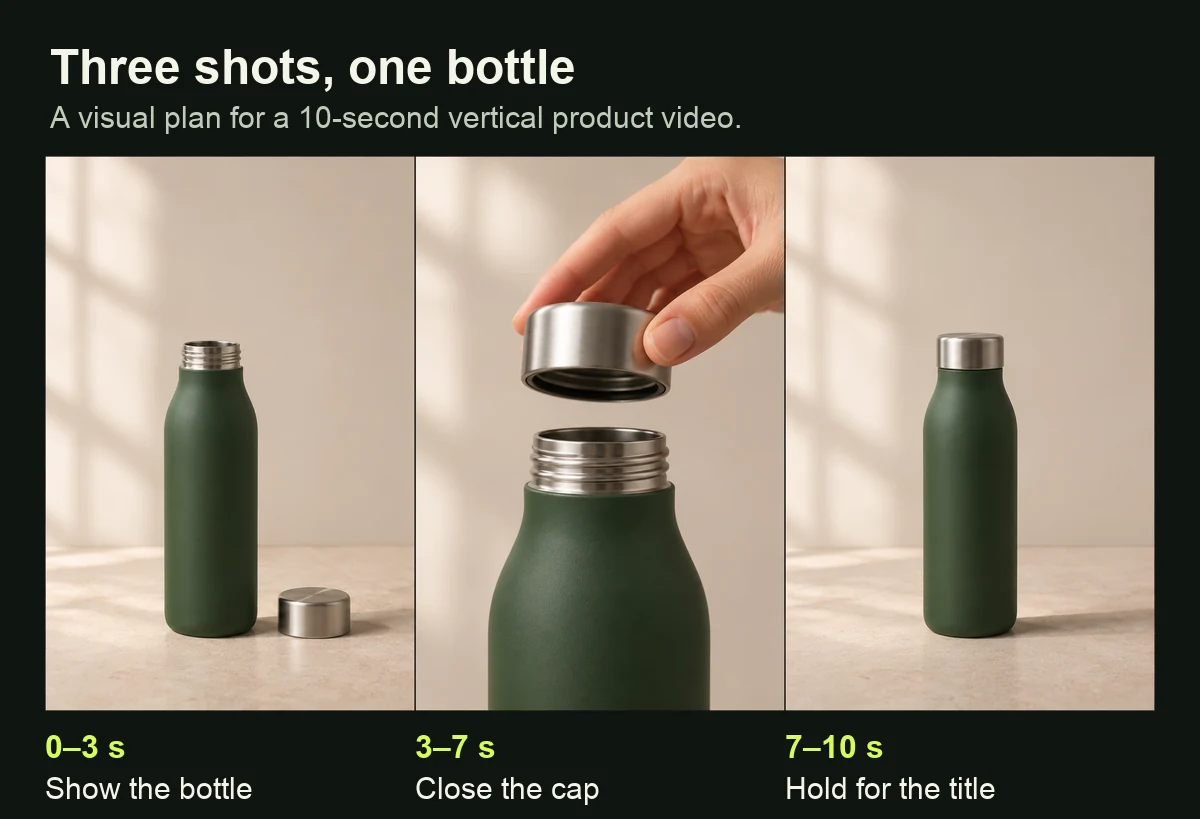
Storyboard sketch. Use the center panel to judge how closely the camera needs to frame the cap.
| Time in the edit | Starting image | Movement and cut point |
|---|---|---|
| 0–3 s | Medium view of the open bottle with its cap beside the base | Slide slowly right. Cut while both the cap and open neck are visible. |
| 3–7 s | Close-up of the neck, with a hand holding the cap just above it | Hold the camera still as the hand fits the cap. Cut when the hand releases it. |
| 7–10 s | Medium view of the capped bottle with room for text above it | Hold the shot while the viewer reads the product name. Add the text in the editor. |
These times describe the edit. If your tool makes five-second clips, select the three or four useful seconds from each take. Give yourself some extra room around the cut so you can keep the cleanest part of the action.
Make starting frames that belong together
You can use phone photos, sketches, or generated stills to plan a board. If you're starting from photographs, take the wide view first and keep it as your reference for the close-up. If you generate the stills, start from one image you like, then use it as a visual reference when creating the other angles. Use a clean, full-size still for each shot. Keep arrows, labels, and multiple panels in the planning board.
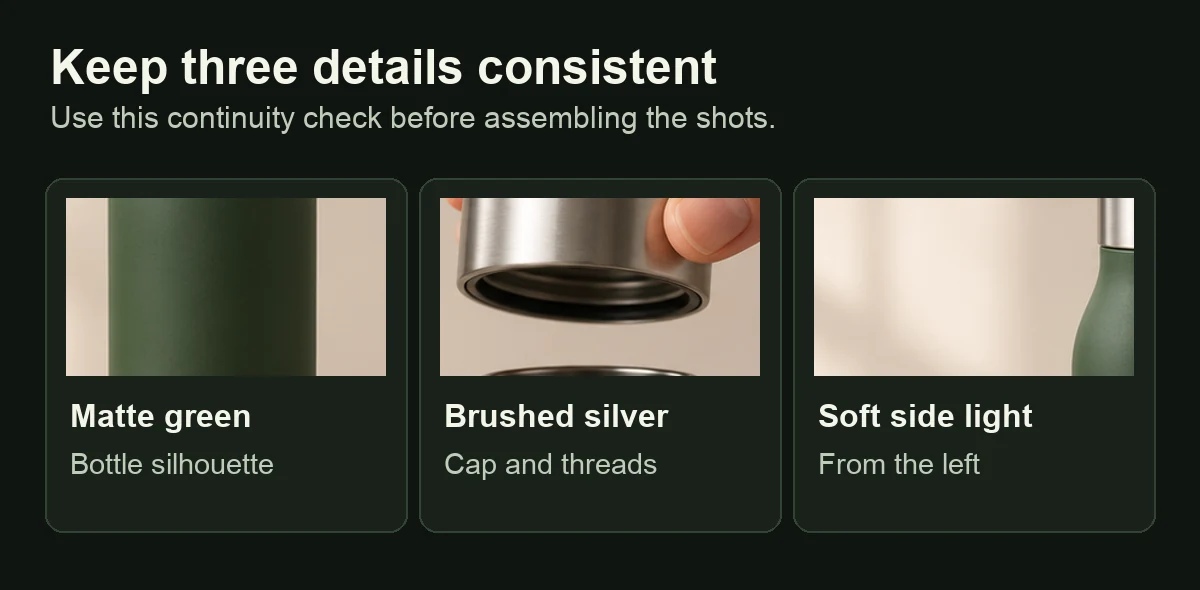
Check the two sides of each cut. Keep details that the audience can track, such as a hand entering from the same side, a prop's shape, or the direction of a shadow. Change the framing as much as the story needs. If a feature matters to the action, make sure you can see it in the starting image. A close-up of a cap already in a hand gives you a clearer starting point than asking the model to find and pick up a small cap from a wide shot.
For a recurring person, keep one clear source image and record the hairstyle, clothing, and accessories. A character reference sheet helps when different shots need different angles.
Copy this shot card
Shot number and time in the final edit:
What the viewer should notice:
Starting still and crop:
One action the viewer should see:
Camera position and movement:
Details that must match the neighboring shots:
Frame or action to cut on:
Text or sound to add in editing:
Fill one card per shot. For the bottle close-up, the action is the cap closing, the movement is in the hand, and the cut point is the release. Those decisions give you a prompt you can check on playback.
Close-up of the green bottle neck from the starting image. The hand fits the brushed silver cap onto the bottle and releases it. The camera stays locked on the cap and neck. Keep the soft light from the left and the pale stone counter consistent.
Test the timing with stills in Clipchamp
A rough timed board, also called an animatic, lets you check whether each beat has enough time.
- Import your three stills in Your media and drag them onto the timeline in order. Above the preview, open Size and select 9:16 for this vertical example. Microsoft's aspect ratio instructions
- Drag the edges of each still to set its length. For the example, use 3 seconds, 4 seconds, and 3 seconds. Close gaps and play the sequence at the intended aspect ratio.
- Add a temporary title or voice recording if the final cut depends on reading or listening time. Move the cut if a key detail disappears too quickly. Microsoft's Clipchamp editing guide
Animate one panel at a time
Open ReelBoop's photo-to-video creator, add the clean starting still for the hardest shot, and use the shot card to write the motion prompt. Select an aspect ratio that fits your board and check the quote. If you need phrasing for a slow slide or a fixed camera, use the camera movement examples.
Review that shot before generating the rest. If a take changes the cap's shape, simplify the action to the cap settling in place and cut to the matching finished bottle. Then make the remaining shots, download the clips, and replace the timed stills in Clipchamp. Compare the last frame of each shot with the first frame of the next, then add the final text and sound in your editor.