
How to Extract Frames from Video for Images and AI References
 ReelBoop
Learn how to save a frame from video, pick a sharp reference image, and use it for a thumbnail, image edit or the next AI video shot.
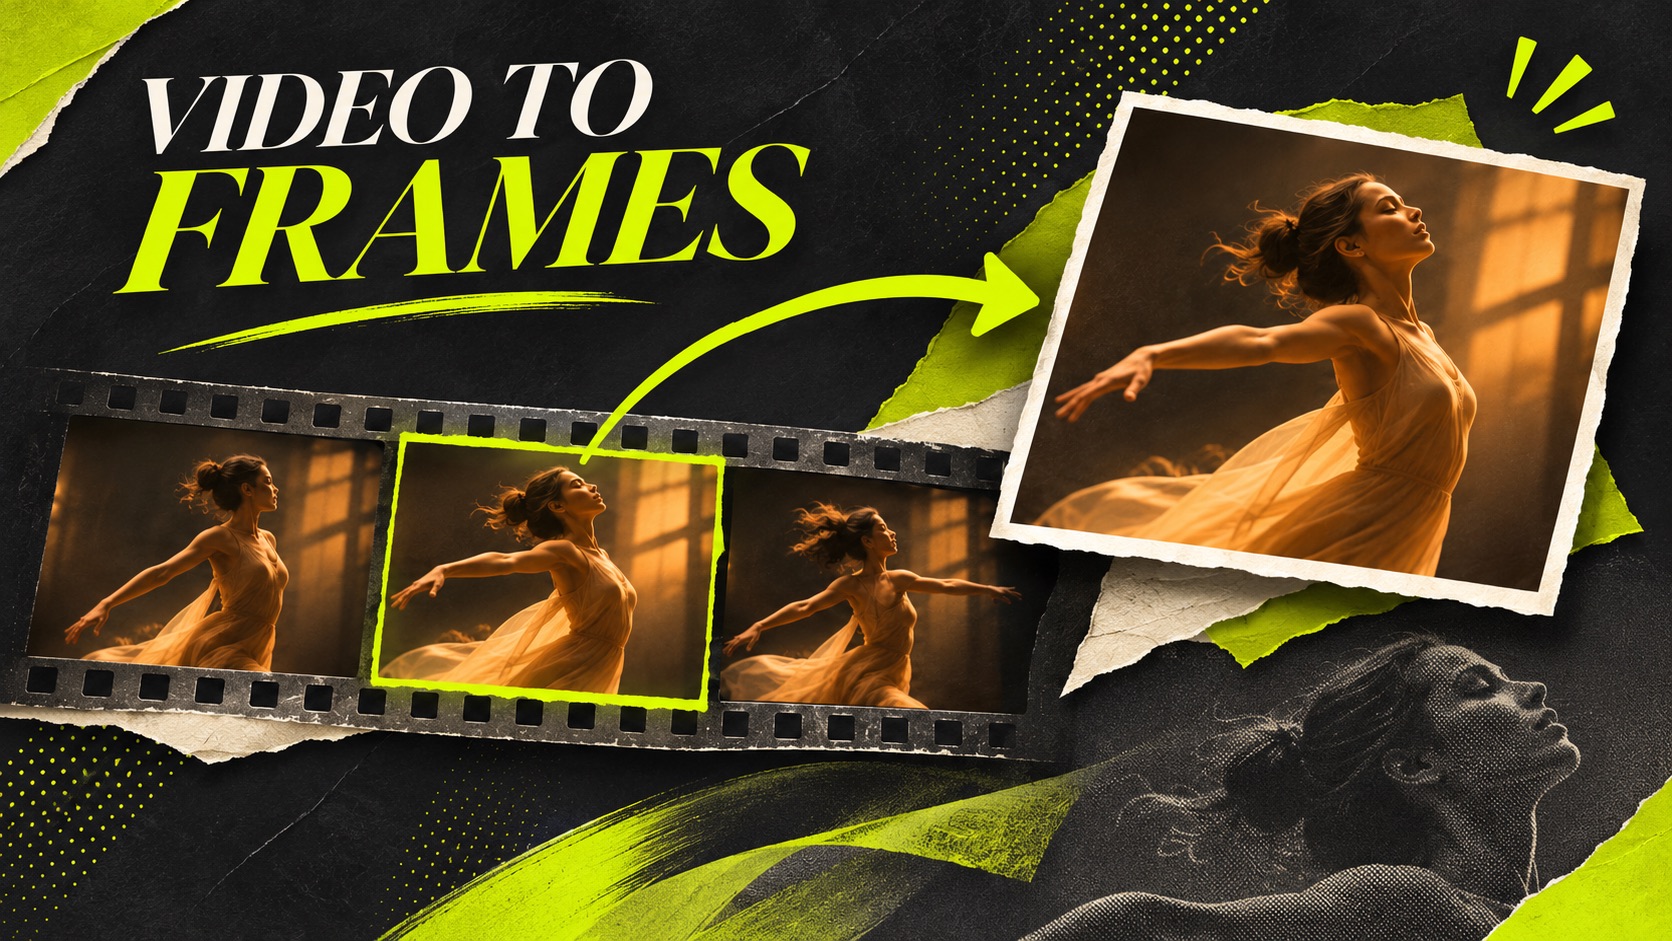
To extract a frame from video, pause on the moment you need and save it as an image. A video editor can export a still; on a computer, FFmpeg can extract a frame near a chosen timestamp. The best reference is often a frame just before or after the moment you first choose: faces are clearer, hands are less blurred and the subject is fully in view.
A frame can become a thumbnail, a visual reference for an image edit, or the starting image for a new short video. This guide shows how to choose and save it, then check whether it is useful for the next step.
What you need
Start with a video file you can use, its duration, and an idea of what the still needs to show. Use the original download when possible: a screen recording or screenshot can include player controls and may be smaller than the video frame.
| Your goal | Look for | Common problem |
|---|---|---|
| Thumbnail | Clear subject and readable composition | Motion blur or UI over the image |
| Character reference | Face, hair and outfit visible | A turned head or an obscured face |
| Next video shot | Subject fully in frame with room to move | Cut-off hands, feet or objects |
| Product image | Label, edges and shape clearly visible | Reflections or distorted text |
Method 1: Export a still in iMovie on Mac
In iMovie, choose a clip in the browser or a movie in the timeline and move to the frame you want. Select File → Share → Image, name the file, choose a location and save. iMovie exports a JPEG, as described in Apple's image export guide.
Open the saved image on its own and check the face, edges, focus and crop at full size. Other video editors offer similar still-export features, though menu names and supported formats vary. A screenshot is a quick fallback, but hide playback controls and check that the captured image has enough detail for its intended use.
Method 2: Extract a specific frame with FFmpeg
If you have FFmpeg installed, this command saves a frame around five seconds into a local video:
ffmpeg -ss 00:00:05 -i input.mp4 -frames:v 1 frame-005.png
Replace input.mp4 with your file name and adjust the time. If your file name contains spaces, put it in quotes. Open the exported PNG and check the result; seeking can land near the requested point depending on the source and command. To inspect a few moments, repeat with nearby timestamps and compare the images.
To export a sequence at one image per second:
mkdir frames
ffmpeg -i input.mp4 -vf fps=1 frames/frame-%04d.png
A sequence creates many files on longer videos. Start with a short clip or a lower sampling rate, then remove the frames you do not need. These are local FFmpeg commands: ReelBoop does not currently provide a dedicated frame-extraction tool.
Pick a frame that will work downstream
A frame that looks exciting in motion may be a poor still. Look for a moment when the camera and subject are relatively steady. Inspect eyes, fingers, text and fine edges; zooming in helps reveal compression and motion blur.
Keep the image's orientation in mind. A tall frame is useful for a vertical social video; a landscape frame leaves room for a wider scene. Cropping can improve composition, but avoid cutting off a body part or product feature the next step needs.
If you plan to reuse a person across multiple shots, save one clear reference and keep a note of their hair, outfit and accessories. Our AI character sheet guide explains how to organize additional views.
Turn the still into a new image or video
For an image edit, add the saved still to an image editor and describe the change: for example, keep the subject and replace a distracting background. Compare the edited image with the source, especially the face, product details and text. ReelBoop's image editing guide walks through a reference-image workflow.
For a new video, open photo to video, upload the chosen still and describe a small motion. A prompt like “the subject turns toward the window as the camera moves slowly forward” gives the model a clear action. Review the generated clip for changes in identity or objects before using another frame as a reference.
Common questions
Does extracting a frame improve its quality? It preserves the selected moment, but it cannot recover detail that is absent or blurred in the source. Choose the cleanest available original video and compare nearby frames.
Why does the exported frame look different from the player? A screenshot captures the displayed image, so it may include player controls, scaling and display adjustments. An exported still comes from the video frame; color can still differ between applications because of color-space, HDR and export settings. Compare both in the application where you plan to use the image.
Can I use the last frame as the next shot's starting image? You can upload it as a reference to an image-to-video workflow. Match the composition and describe the desired continuation, then check the new clip; continuity is not guaranteed.