
How to Replace a Character in a Video: Photo, Clip and Checks
 ReelBoop
Replace a character in a video with a photo and a short clip. Choose Character Swap or Body Swap, prepare the files, check credits and review the result.
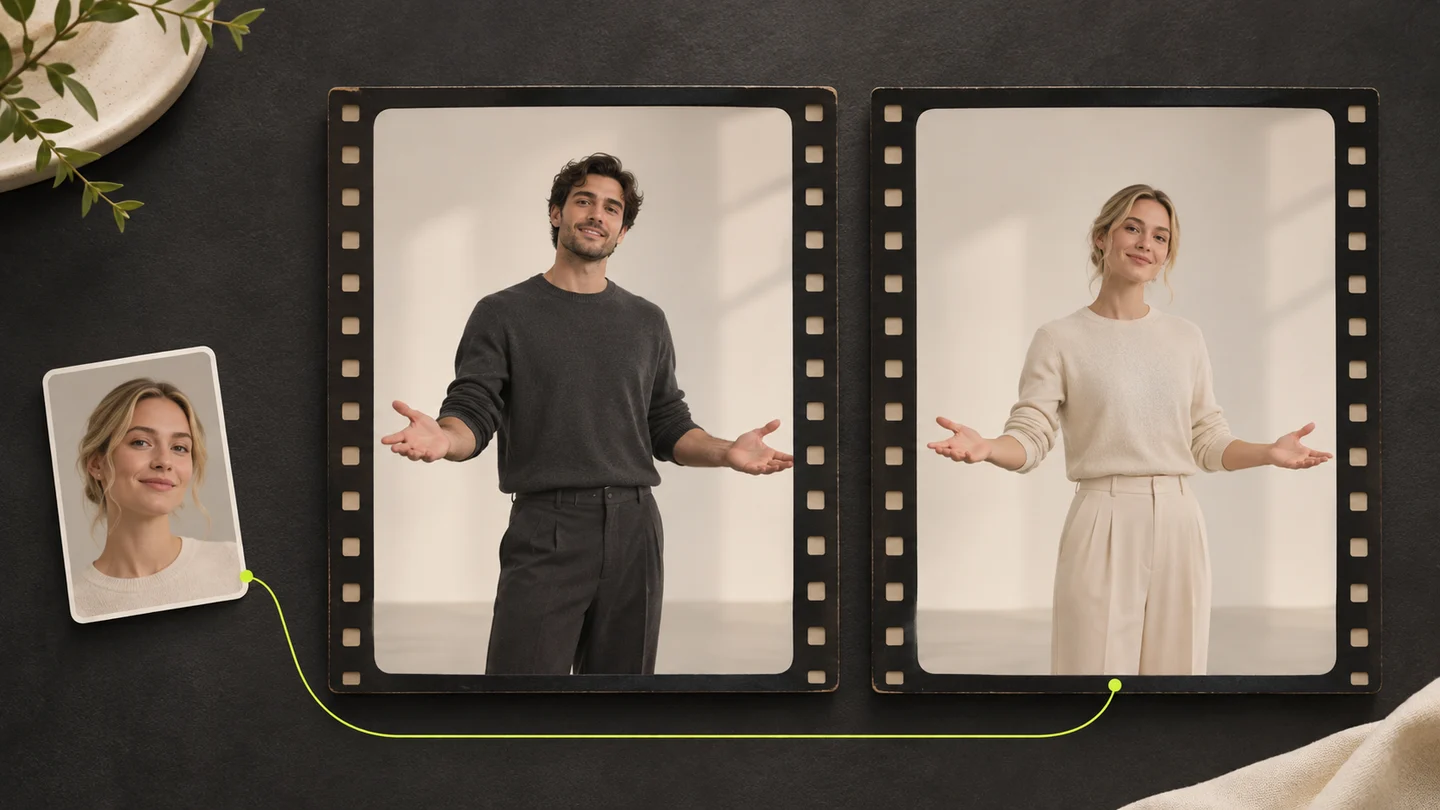
Start with the change you want to make
To replace a character in a video, prepare a short source clip and a photograph of the person you want to introduce. The clip supplies the scene and performance; the photo supplies the intended appearance. On ReelBoop, that task belongs in Character Swap.
Before uploading, decide whether you want a new lead in an existing scene, a photo following someone’s movements, or a familiar dance template. Those choices need different inputs. A clear choice also makes it easier to judge the finished video.
Your goal | What to prepare | Where to start |
|---|---|---|
Cast a different person in an existing scene | Character photo + source clip | Character Swap |
Make a photo character follow a movement video | Full-body photo + motion clip | AI Body Swap |
| Make a specific trending dance | The photo or photos requested by that preset | Trending templates |
| Add new motion to a still image | One photo, optionally a motion prompt | Photo to Video |
Prepare two files that work together
Choose a continuous scene with one prominent adult. Watch it once without pausing: can you follow the same performer throughout? A clear opening face, visible silhouette and readable movement give you useful points of comparison. Trim away cuts, empty introductions and moments when another person blocks the lead.
Match the photograph to the scene’s framing. A full-body performance benefits from a head-to-shoes reference; a closer scene needs a face with enough detail to recognize. Show the hair, outfit and proportions you want to introduce. Soft, even lighting and a simple background make those features easier to assess.
Both tools accept one JPG, PNG or WebP photo up to 5 MB, plus an H.264 MP4 up to 20 MB. Character Swap accepts 1–5 seconds of video; Body Swap accepts 1–10 seconds. Exporting a file with an .mp4 extension does not by itself establish the codec, so choose H.264 in your editor’s export settings.
Read a real photo-and-video example
This existing IVE Looks Can Kill template example shows the input relationship. The original has a performer in dark clothing against pale wall panels. The character reference shows a blonde woman wearing a white top and jeans. The result brings that look into the performance.
Original performance
Original reference: MakeViral’s IVE Looks Can Kill template.
Character reference
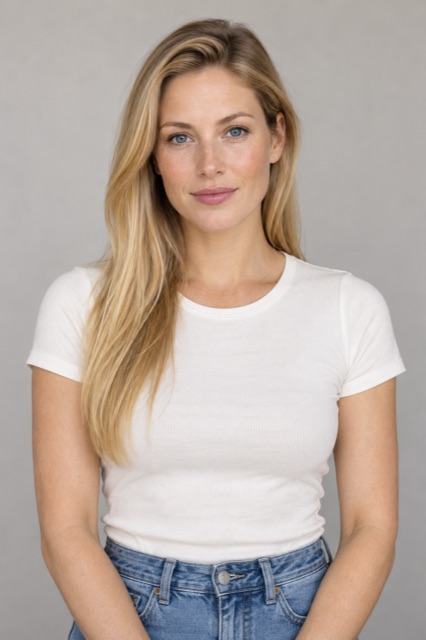
Character reference: blonde hair, a white top and jeans.
Existing generated result
Existing IVE template result with the blonde character.
Use the pair to compare identity, clothing, timing and framing. The result illustrates a whole-character change: the face, hair and outfit all matter. Framing and local movement can differ, so examine the complete performance rather than choosing one flattering still.
Upload, check the quote and generate
- Open Character Swap and sign in. Add the character photo and your trimmed source clip. For motion transfer, start in Body Swap instead.
- Check the files. Confirm that the intended person stays visible and that the uploaded clip contains the exact section you want to use.
- Review the credits. Character Swap costs 60 credits at 360p, 70 at 540p or 140 at 720p. Body Swap costs 12 credits per second, with duration rounded up to a whole second: a 4.2-second clip is charged as five seconds, or 60 credits.
- Confirm generation once. After submission is confirmed, the tool takes you to My creations. Follow that task through its displayed status.
A task marked pending confirmation needs a status check. Keep the existing task instead of submitting the same files again. Confirmed generation failures return the credits. Completed, approved videos can be played and downloaded from your private creations.
Check the result in three passes
First, watch at normal speed. Does the performance read naturally? Compare the main gestures and the opening and ending with the source. Check the sound as well as the picture.
Next, inspect the character. Look at the face at the beginning, middle and end, then through a turn. Check whether the hairline, outfit and body proportions remain coherent. A recognizable first frame is only the start.
Finally, inspect the surroundings. Watch hands crossing the torso, clothing edges, floor contact and objects passing in front of the person. For a social post, leave room for captions and app controls before making your final crop.
Fix the input that explains the problem
What you notice | What to examine before another attempt |
|---|---|
The face becomes hard to recognize during a turn | Whether the source hides the face and whether the photo has enough facial detail |
Hands or feet become difficult to follow | Occlusion, fast movement and limbs leaving the source frame |
| The intended outfit is unclear | Whether the reference actually shows the complete clothing and silhouette |
The wrong person seems to drive the scene | Whether the source has one prominent performer throughout |
Change one input decision at a time. For a deeper look at choosing a character reference, read the H3 reference and character consistency guide; its input checklist also helps when planning other video workflows.
Common questions
Is character swap the same as face swap?
Face swap focuses on facial identity. Character swap concerns the overall person, including hair, clothing and silhouette. Choose based on how much of the character you want to change.
Can I upload a longer dance?
Trim your source to the tool’s duration limit. If you want an existing routine without preparing a motion clip, choose a dance template and follow its photo requirements.
Does this use MiniMax H3?
ReelBoop’s Character Swap currently uses PixVerse; Body Swap uses Kling v2.6 Standard motion control. Select the tool for the task you want to complete, then review its current quote before generating.