
7 GPT Image 2.6 Prompts for Images You Can Refine
 ReelBoop
Copy seven GPT Image 2.6 prompts for campaign concepts, portraits, illustrations and reference edits, with a practical check for every image.
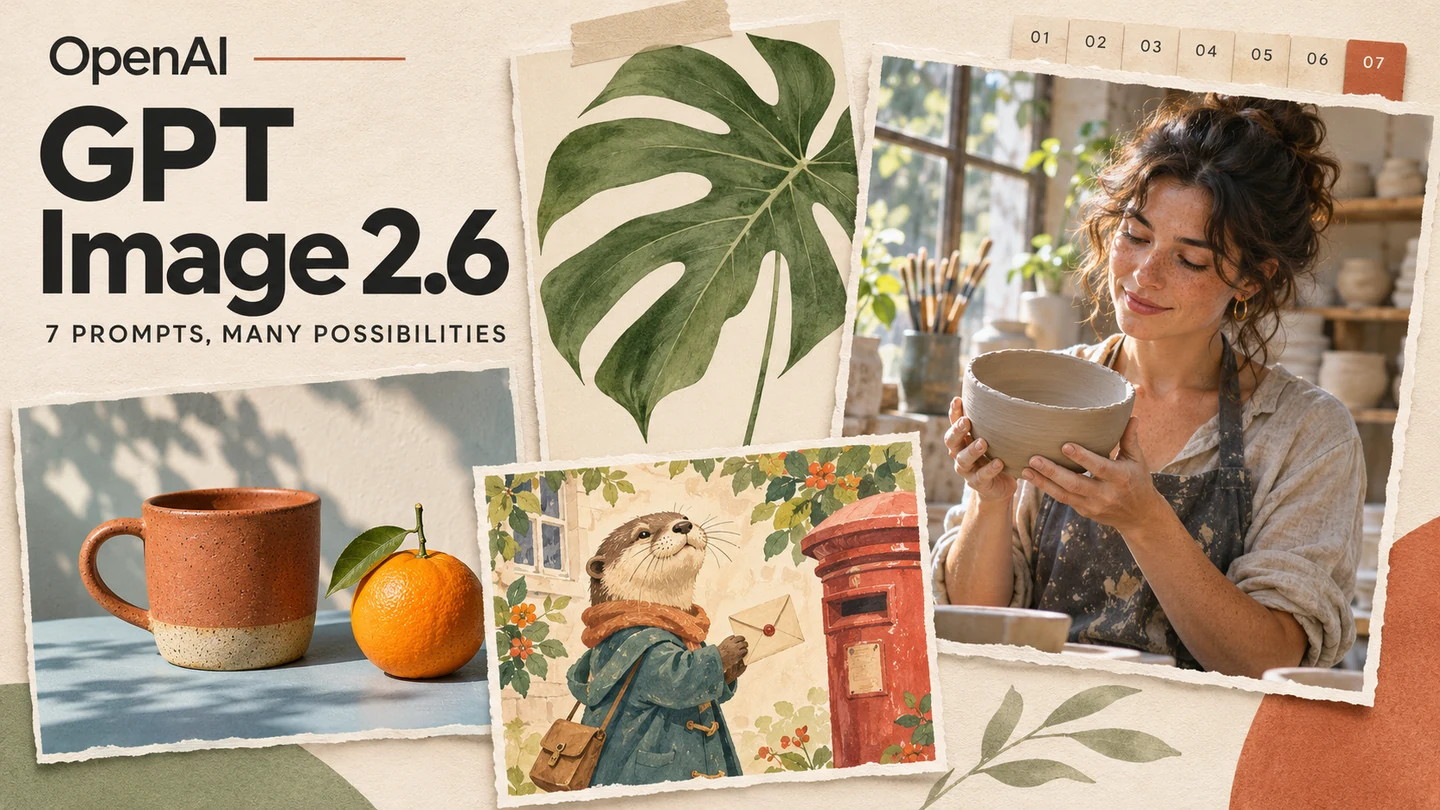
A useful GPT Image 2.6 prompt gives the image a job: introduce a product, leave room for a headline, show a character or explain a space. Start with that job, then describe the subject, arrangement, light and visual treatment.
The seven prompts below are starting briefs. Each includes one detail to change and one detail to inspect. You can use them in the GPT Image 2.6 creator, which offers Flare and Sunburst. On ReelBoop, both generate one Medium-quality PNG for 5 credits. Choose 1:1, 16:9 or 9:16 in the form; prompts can contain up to 600 characters.
Write the decisions that matter
Build a prompt in this order:
Create [image type and purpose]. Show [subject and defining details] in [setting]. Arrange [viewpoint, crop and empty space]. Use [light and visual treatment].
For a reference edit, add what should change and what should stay recognizable. A clear instruction such as “keep the blue casing, lens and buttons” gives you specific details to compare afterward.
Decide the aspect ratio in the tool before generating. A tall composition needs a different placement of the subject and empty space than a wide one. Describe that placement inside the prompt, even when the ratio itself is selected separately.
Seven prompts to adapt
1. A still life with a clear focal point
Use this when you need a small editorial image with an easy-to-read arrangement.
Create an editorial still-life photograph. One terracotta cup and one whole orange sit on a pale blue table, with the orange slightly behind the cup. Photograph them at table height, leaving open space above. Soft light enters from the left, with gentle shadows and visible ceramic texture. Warm, quiet mood.
Change: replace the blue table with a cream surface while keeping the objects and camera position.
Check: count the objects and trace the cup handle. Look at whether both shadows point away from the same light source.
2. A campaign frame from a product reference
Upload one clear product photo for this prompt. Choose a view that already shows the parts you want to keep.
Use the blue camera in the reference image as the main subject. Keep its blue casing, lens, buttons and visible proportions. Place it on a pale stone plinth against a soft apricot background. Three-quarter view, broad soft light from the upper left, gentle contact shadow. Position the complete camera in the lower right, with calm open space above and to the left.
Change: try a different background color first. Keep the camera description fixed.
Check: compare the lens, buttons and silhouette with your source photo. For more product-specific compositions, use the product photography prompt recipes.
3. A poster composition with space for typography
Plan the hierarchy before adding exact event copy in your design editor.
Create a graphic poster background for a weekend plant workshop. A large sculptural green leaf rises from the lower third against a warm ivory field. Bold flat shapes with subtle paper texture, a restrained green and orange palette. Keep the upper half visually quiet for a headline and the bottom edge clear for event details.
Change: move the leaf to one side if your headline needs a left-aligned column.
Check: place your actual headline over the image at its final size. The composition works only if the words remain readable and the leaf still has room.
4. An environmental portrait
Give a portrait one action and a setting that explains it. This text-only example describes a fictional adult.
Create a natural editorial portrait of a fictional adult ceramic artist in a bright workshop. They hold one small unfinished bowl at waist height and look toward the camera. Medium framing, shelves of softly blurred pottery behind them. Side window light, neutral colors, relaxed expression and visible clay texture on the bowl.
Change: try a wider view to show more of the workspace.
Check: inspect the grip, fingers and rim of the bowl, then see whether the background helps explain the subject's work.
5. A character for an illustrated series
Write a few repeatable identity details before changing the scene.
Create a picture-book illustration of a small brown otter wearing an ochre satchel and a teal raincoat. The otter stands beside a red postbox on a rainy village street, holding one cream envelope. Rounded ink shapes, soft gouache texture, gentle daylight. Keep the face, coat and satchel easy to recognize in a full-body view.
Change: move the same character to a station platform while retaining the clothing and illustration treatment. For a closer visual starting point, upload your chosen first image as the next reference.
Check: compare the face shape, coat length, satchel and body proportions across the series. A repeated description still needs a visual review.
6. A room concept with usable scale
Name a small set of objects and the way they relate, so you can judge the layout.
Create an interior concept photograph of a compact reading corner. One walnut armchair sits beside a narrow bookshelf and a small round side table. Eye-level view from the room entrance, with the whole chair visible. Warm afternoon light from a window on the right, cream plaster walls and a muted rust rug. Leave a clear walking path in front of the chair.
Change: swap the chair color before changing the furniture layout.
Check: look at the chair's legs, shelf depths and space to walk. Use real measurements when planning an actual room.
7. A focused background edit
An edit prompt is most useful when it names one main change.
Use the reference image as the starting point. Keep the main subject's visible shape, colors, position and crop. Replace the background with a softly lit pale green studio wall and a matching matte surface. Add a gentle contact shadow that fits the existing light direction. Keep attention on the subject.
Change: adjust only the new wall and surface colors for your second version.
Check: inspect the subject's edges and compare its details with the original. The reference-image editing tutorial walks through the full upload, edit and download process.
Refine one variable at a time
Save the prompt and the image you want to improve. Identify the most useful change: a different crop, softer light, a quieter background or more space for text. Keep the remaining decisions stable so you can see what that change did.
For a reference edit on ReelBoop, upload one JPG, PNG or WebP up to 5 MB. After generation, open My creations, compare the completed image with your brief and download the version you choose. To use that result for another edit, upload the downloaded file as the new reference.
Choose between the models with the Flare vs Sunburst guide, or open the creator with one prompt and one clear result to check.